
How to set up an Company Email address in cPanel 2024-(Email hosting Zimbabwe)
Setting up email accounts has become every easy especially in Cpanel the most used control panel in the world here is the guide of how to set up your personalized emails
Firstly you need to login to your control panel or admin panel here we are going to login into our control panel via client area .
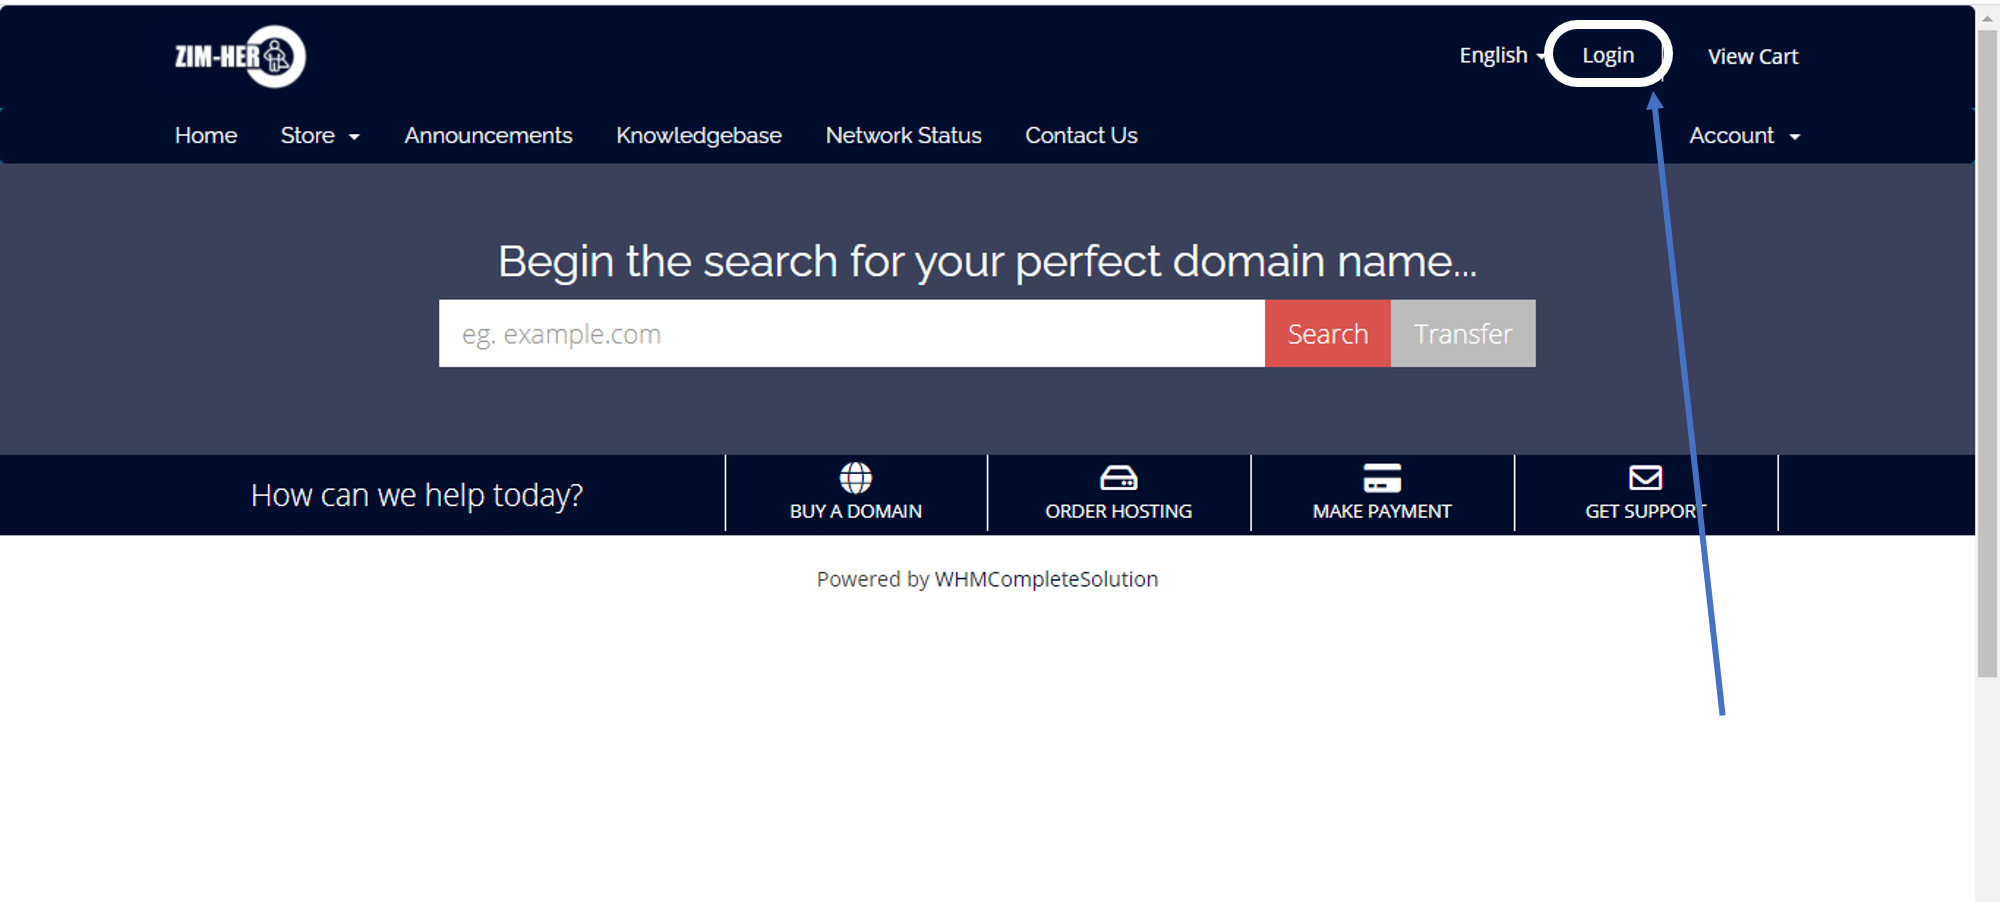
Firstly you need to go to my.zimhero.com and click on login
After you have provided you the email and password from zimhero or your hosting provider your will see this page below

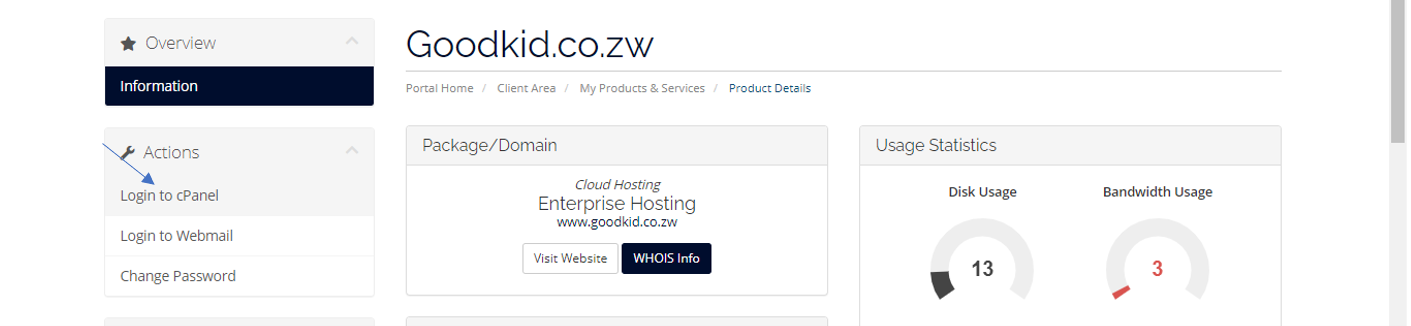
Click on where say services and after that you need to select the domain you want to create email for just in case you have a lot of domains in your account select the domain you want and on you right you will see an option saying active on your right .

After you have clicked activate you need to navigate towards your left you will see were it says login to cPanel under Actions Tab.
Click on login to cPanel you and you the screen below
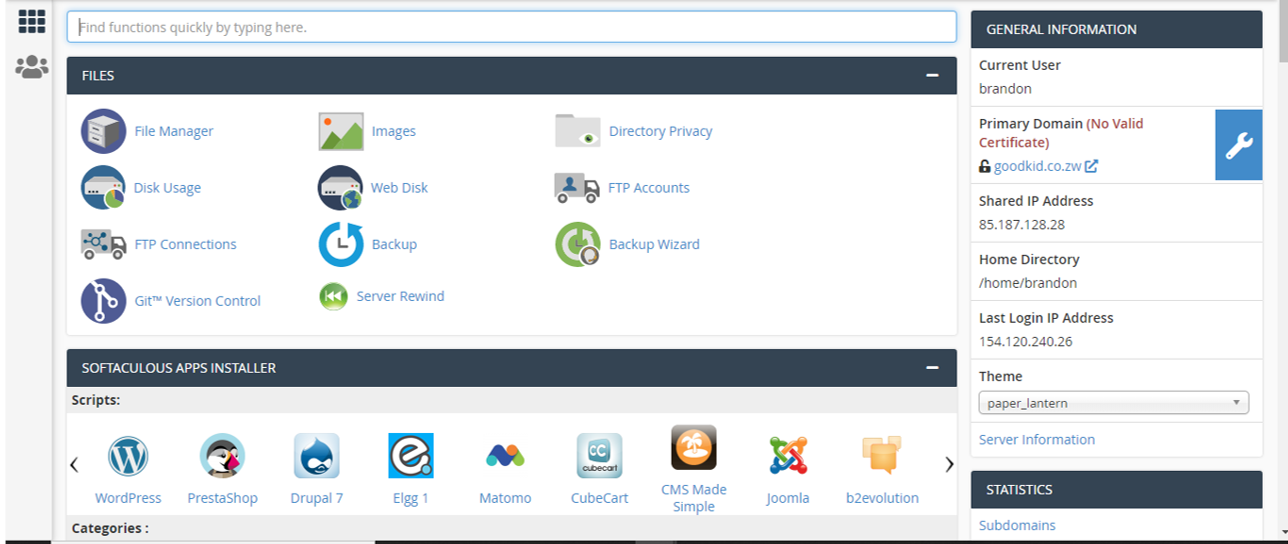
On top navigation your see were it says “find functions quickly by typing” type email there

Click on the Email account

and click create
After you have click on create email please enter the email name and the password and click create as highlighted below
co
Congratulation you have created you email address
How to Access the email via webmail
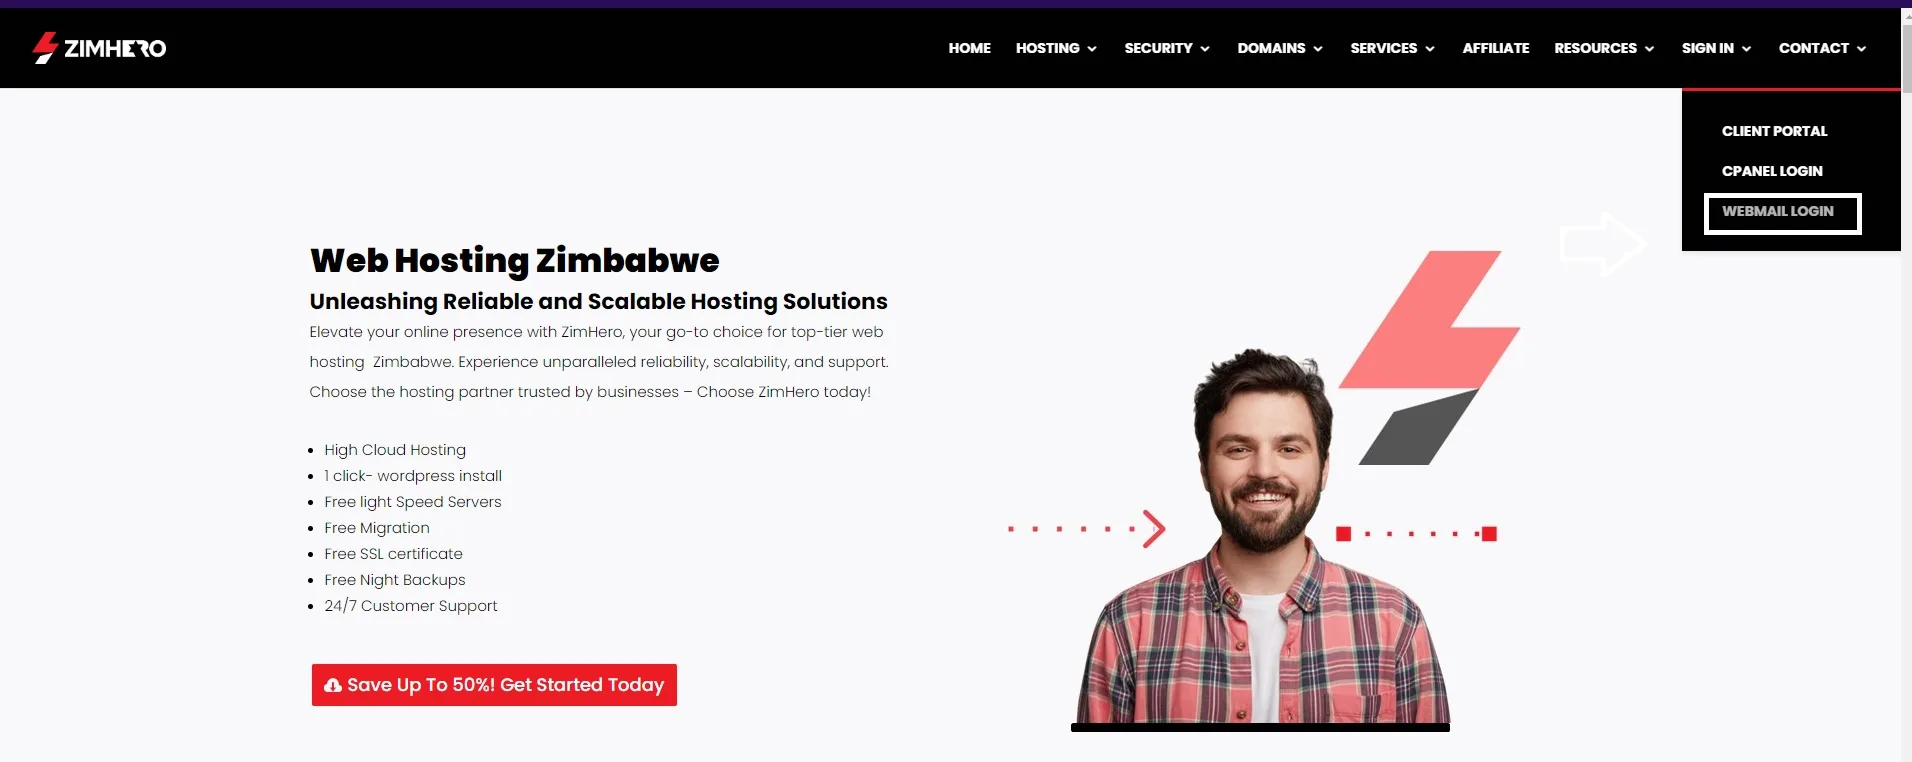
You need to go to zimhero.com and sign in and click webmail login
How to set up an Company Email address in cPanel 2024-(Email hosting Zimbabwe)
Enter your Company email address in full and the password you have previously created and click login

How to set up Company emails in Outlook 2016 or Microsoft 36
1.Launch Outlook.
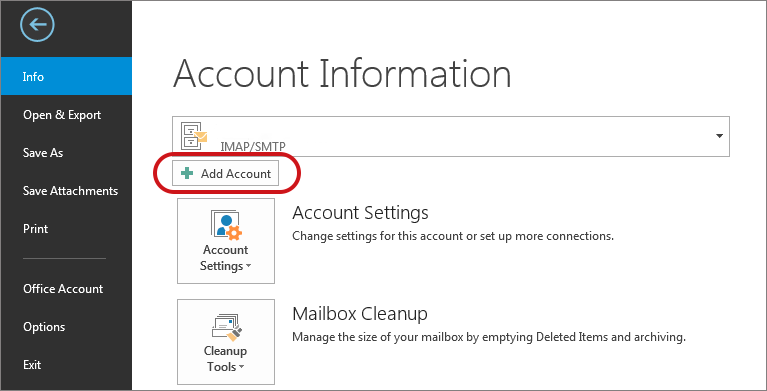
2.Select File on the top left menu bar.
3.Select the Add Account button in the middle of the screen.
4.Insert your email address.
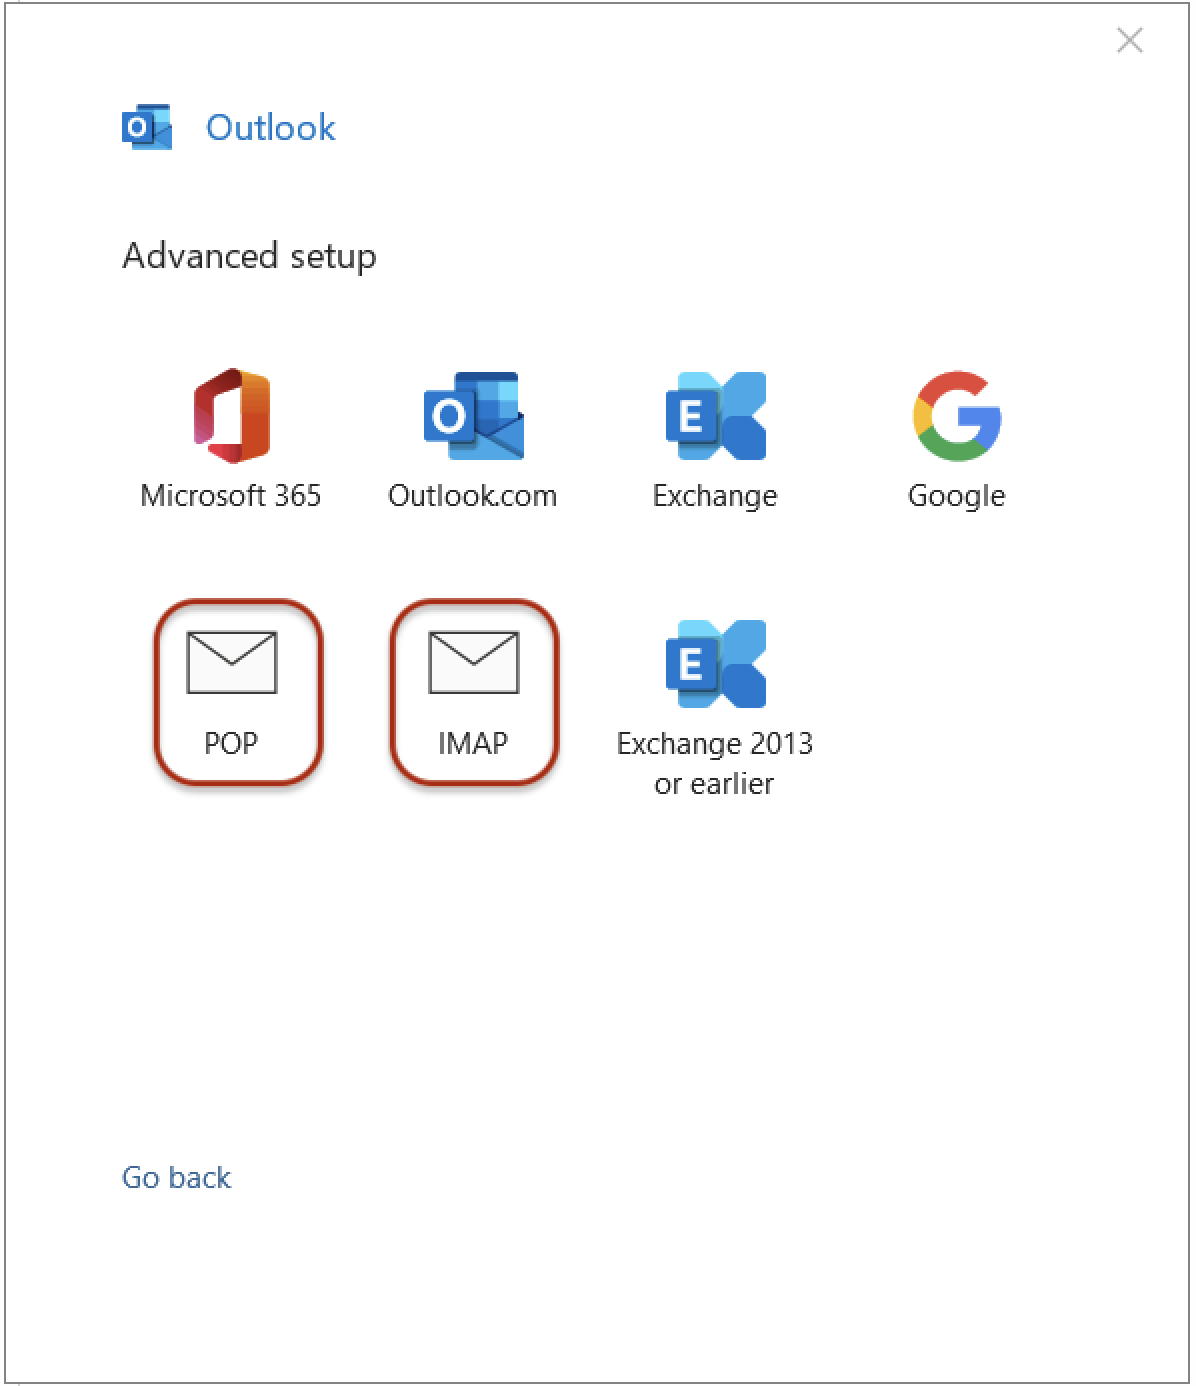
5.Select Advanced options, then select Let me set up my account manually > Connect
7.Server Settings: These settings can be found by entering your email address in the Show Settings box at the top of this article.
Note that some versions of Outlook don’t allow you to adjust server settings at this stage. In these cases, complete the account setup and then check your server settings by going to File > Info > Account Settings dropdown > Server Settings.
Incoming mail: add mail. before your domain name e.g. mail.youdomainname.co.zw*
- Port 993 (or 995 for POP)
- Encryption method: SSL/TLS
- Require logon using Secure Password Authentication (SPA) is unticked
Outgoing mail: add smtp. before your domain name e.g. smtp.youdomainname.co.zw*
- Change Port to 465 (not 25)
- Encryption method: SSL/TLS
- Require logon using Secure Password Authentication (SPA) is unticked

8.Click Next.
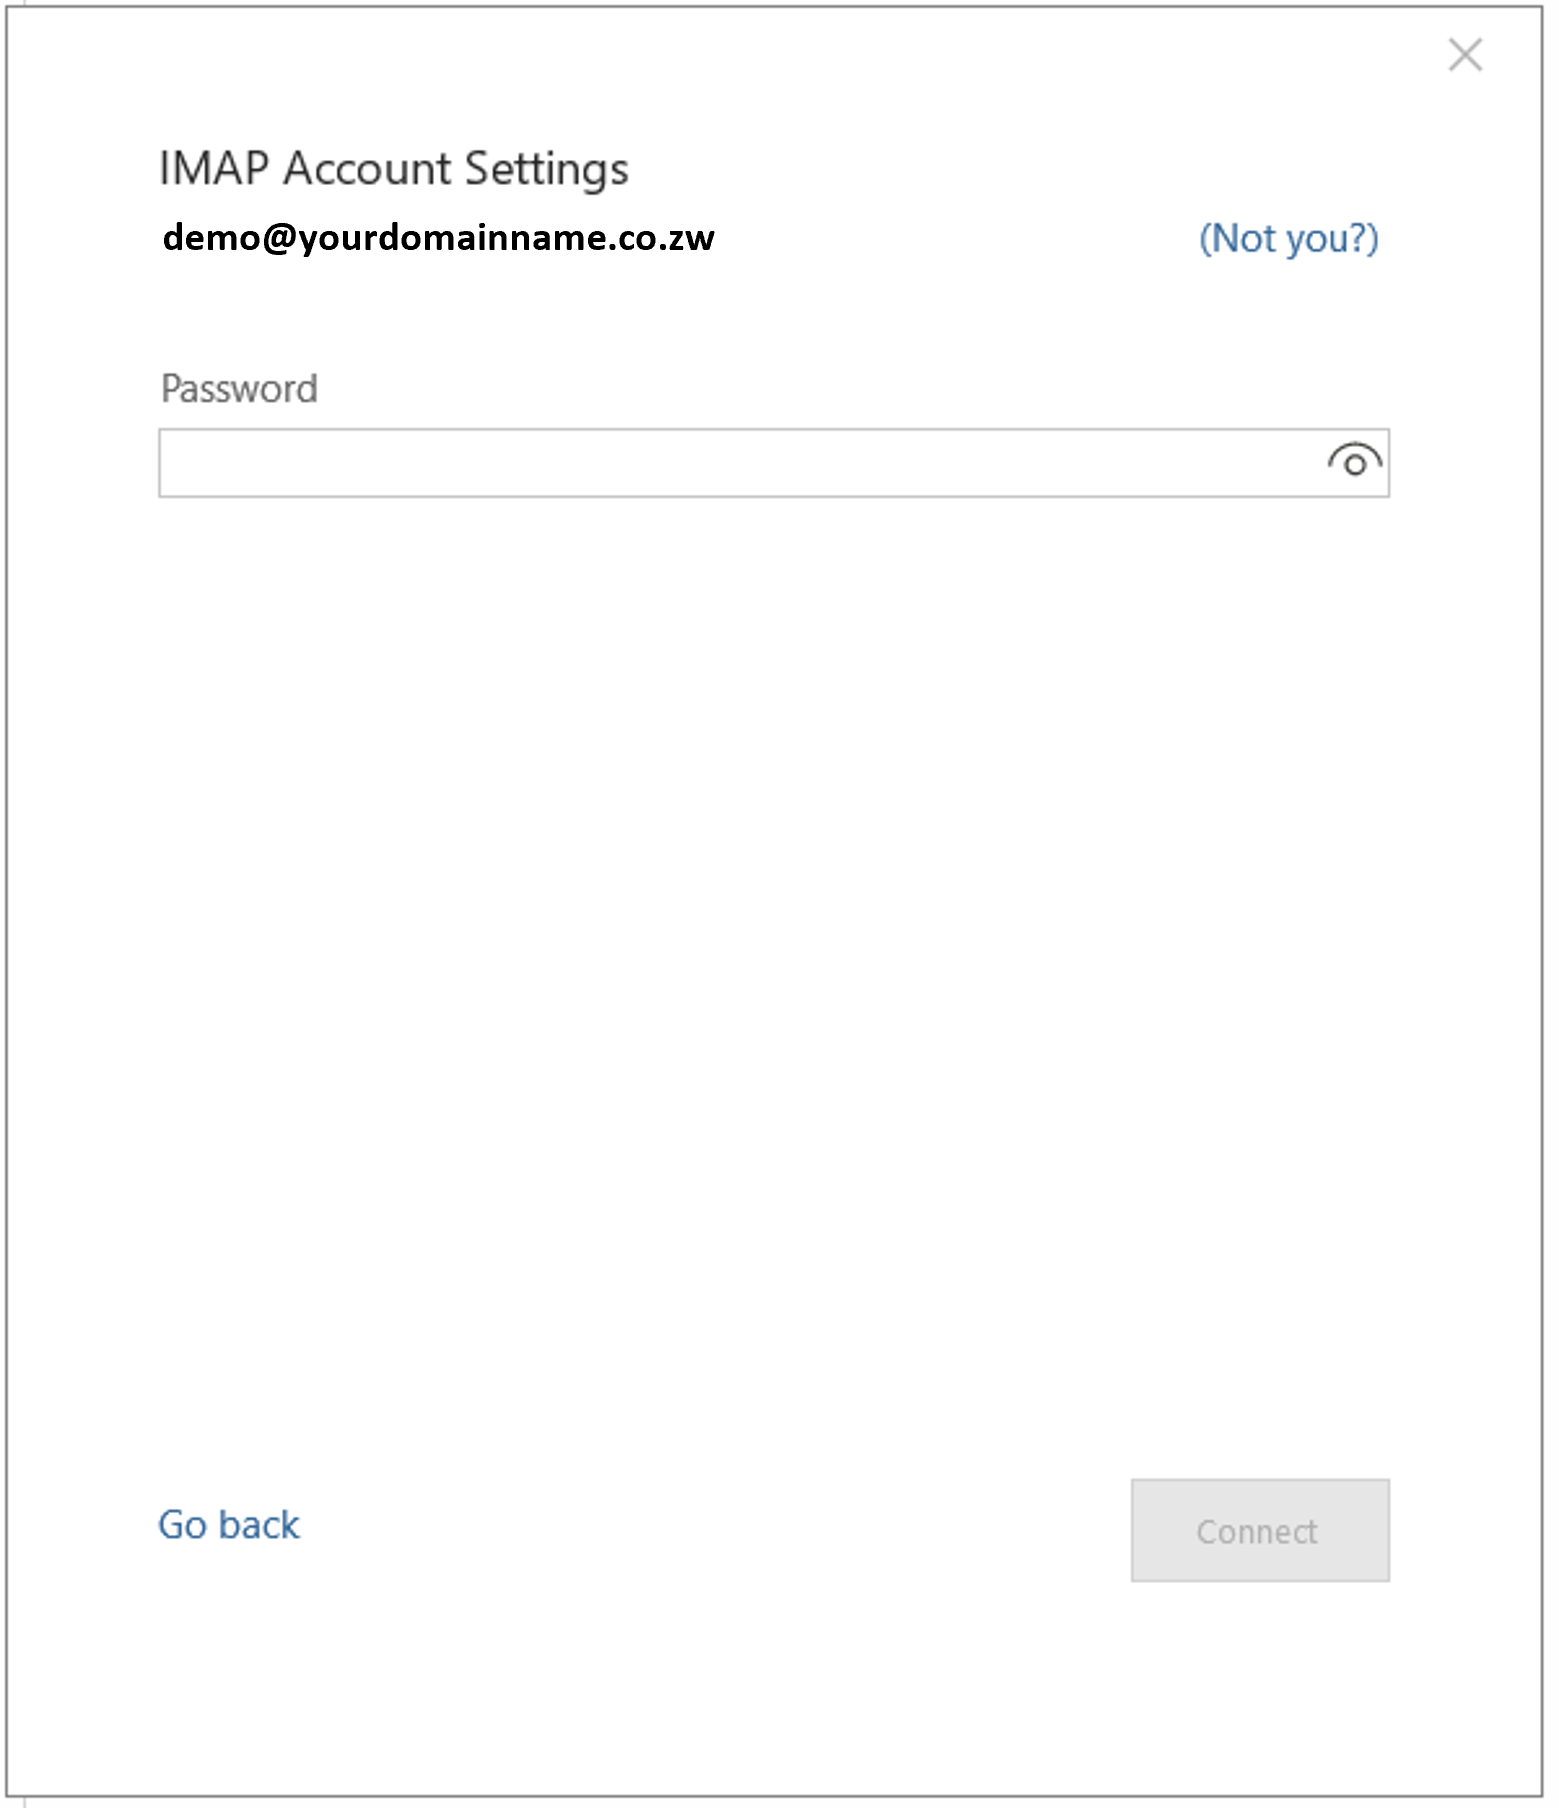
9.You will now be prompted for the password
10.Your setup is complete! You may click Done.

